Parallelizing PNG compression, part 4: patching GNOME

Continuing last week’s series on parallelizing things to speed up saving screenshots as PNGs on GNOME!

Going back to the original GNOME desktop screenshot issue: there’s a long delay after hitting “PrintScreen” before audiovisual feedback confirms that a screenshot has been taken, especially at very high resolutions and a slower CPU.

The modular GNOME

Screenshot operations in the GNOME desktop environment are split over two modules: gnome-shell (which as the compositor has access to the raw screen data under both X11 and Wayland modes), and gnome-settings-daemon (gsd) which has some kind of facility for global keyboard shortcuts.

Current order of operations is thus:

  1. gsd’s keyboard shortcut handler for screenshots makes a call to the shell over D-Bus
  2. shell captures the screen
  3. shell compresses the image and saves it to disk
  4. shell starts a visual “flash” effect
  5. shell returns a success value to gsd over D-Bus
  6. gsd starts the “click” sound from the audio theme

Mysteriously the sound and the visual effects are started in different processes, but at about the same time so they feel synchronized. Just after a long delay from my keypress!

Fixing it

The proposed fix I outlined in a previous post seems pretty feasible, and I was able to whip up a proof of concept:

But how do you test that?

Building and testing GNOME Shell

GNOME is a pretty big environment with a lot of moving parts, and can take a few hours to build. Building a single package from the latest version control is difficult because a lot of components need to be in sync!

There are two (at least) systems for building the entirety of GNOME for testing: BuildStream is the current recommended system, and is pretty awesome, but you can’t test some components like the shell.

The older system is jhbuild, which has been around for a few years and I have some bad memories of weird broken builds in the distant past. :D

Note that BuildStream is very self-contained and produces an isolated system set, while jhbuild grabs a lot of dependencies from the host system and can be more … fragile.

Build gotchas: WebKitGtk+

When I first tried building with BuildStream, I complained that a very slow portion of the build was WebKitGtk+ being limited to only 2 threads on my 8-core machine.

But when I tried again with jhbuild, I found that no such limit was applied — it was happily running 16 simultaneous compiles (remember hyper-threading!) and …. running …. out of memory. Some of the giant “unified build” C++ files in WebKit were eating up ~1.5 GiB of RAM each, and at 16 threads that goes wwaayy past the 12 GiB available on the system!

I added some swap space, and it ran further but vveerryy sslloowwllyy.

WebKitGtk’s build is with meson (ninja) which defaults to running enough build threads to fill your available CPUs. There’s a command line option (-j) to override it, but I couldn’t figure out offhand how to change the command line that gets invoked by jhbuild’s meta-build system. (There’s not an environment variable to override it, which would have been easier to do I think.)

As a quick hack I temporarily disabled hyper-threading in the BIOS to reduce the number of logical CPU cores, and thus autodetected processes, so only half as much RAM was used. :P

This got the build through WebKit and I was able to re-enable HT and eventually get to patching gnome-shell.

Testing the shell

To properly test the shell and daemons you need to open a new gdm desktop session running the custom-built stuff, but I’m not really sure how to do that yet. :)

So far I’ve tested just the shell component, which you can swap out for the currently running shell like so:

$ jhbuild run gnome-shell --x11 -r

Beware that if it breaks, you have no shell / window manager anymore and it’s…. a bad experience.

Be very careful that you can restart the shell with the mouse or something, as keyboard focus breaks when the shell dies! :D

Note that running the patched gnome-shell with the system’s unpatched gnome-settings-daemon produces a nicely timed “click” + “flash” and then a second “click”. :) If the two modules are run both patched, the second click will be removed.

One more thing

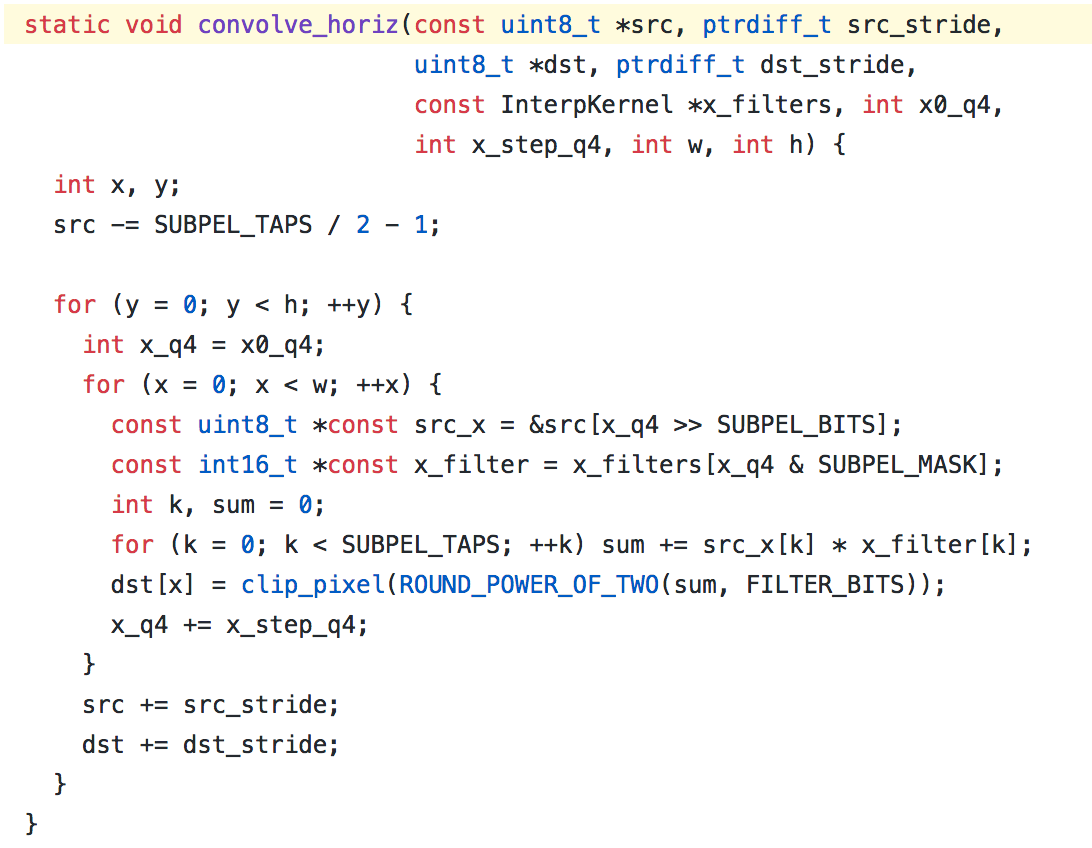
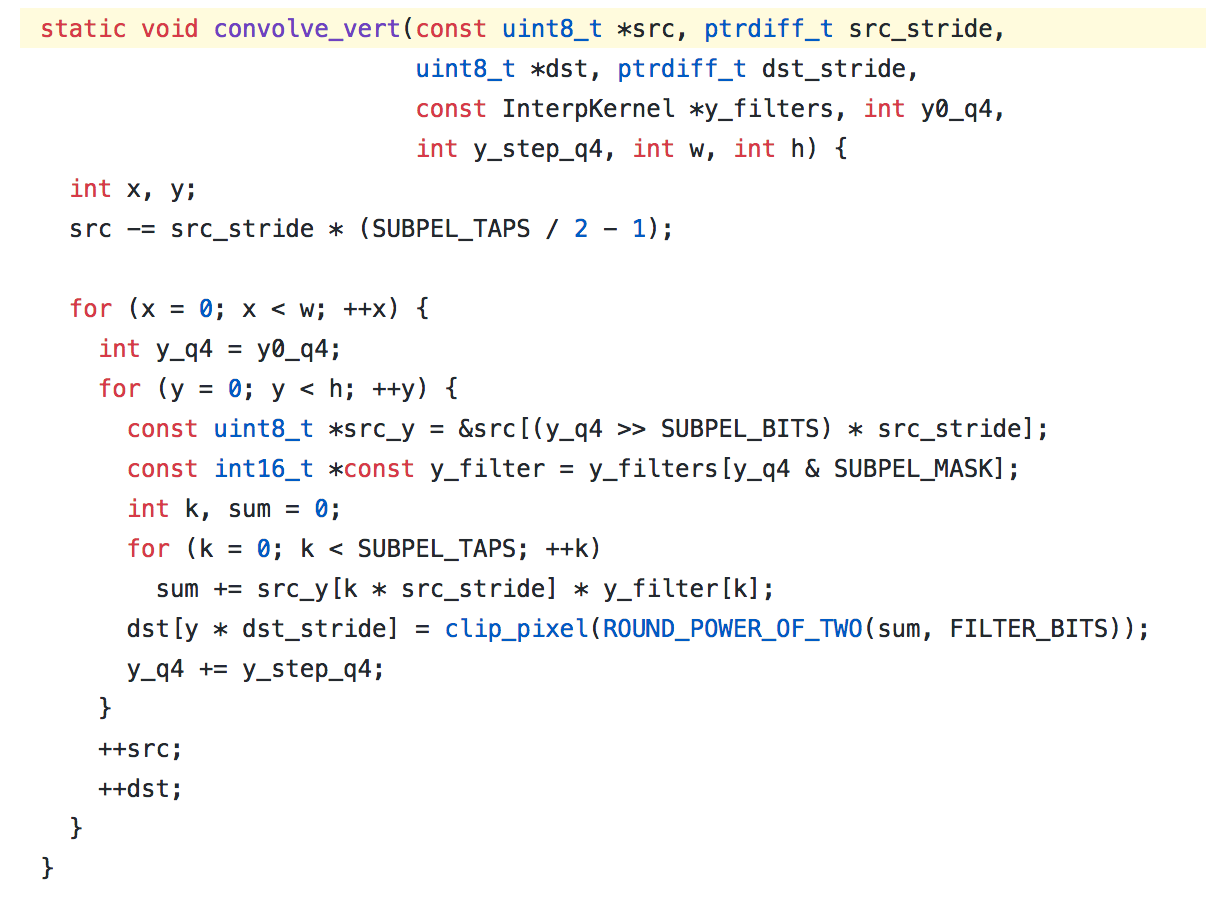
Doing more thorough benchmarking for our next post, I noticed that the actual save operation in the shell (via gdk-pixbuf, via libpng) is also 30% slower than it needs to be because gdk-pixbuf enables an unnecessary transform operation in libpng.

Fix for gdk-pixbuf is submitted, and merged!

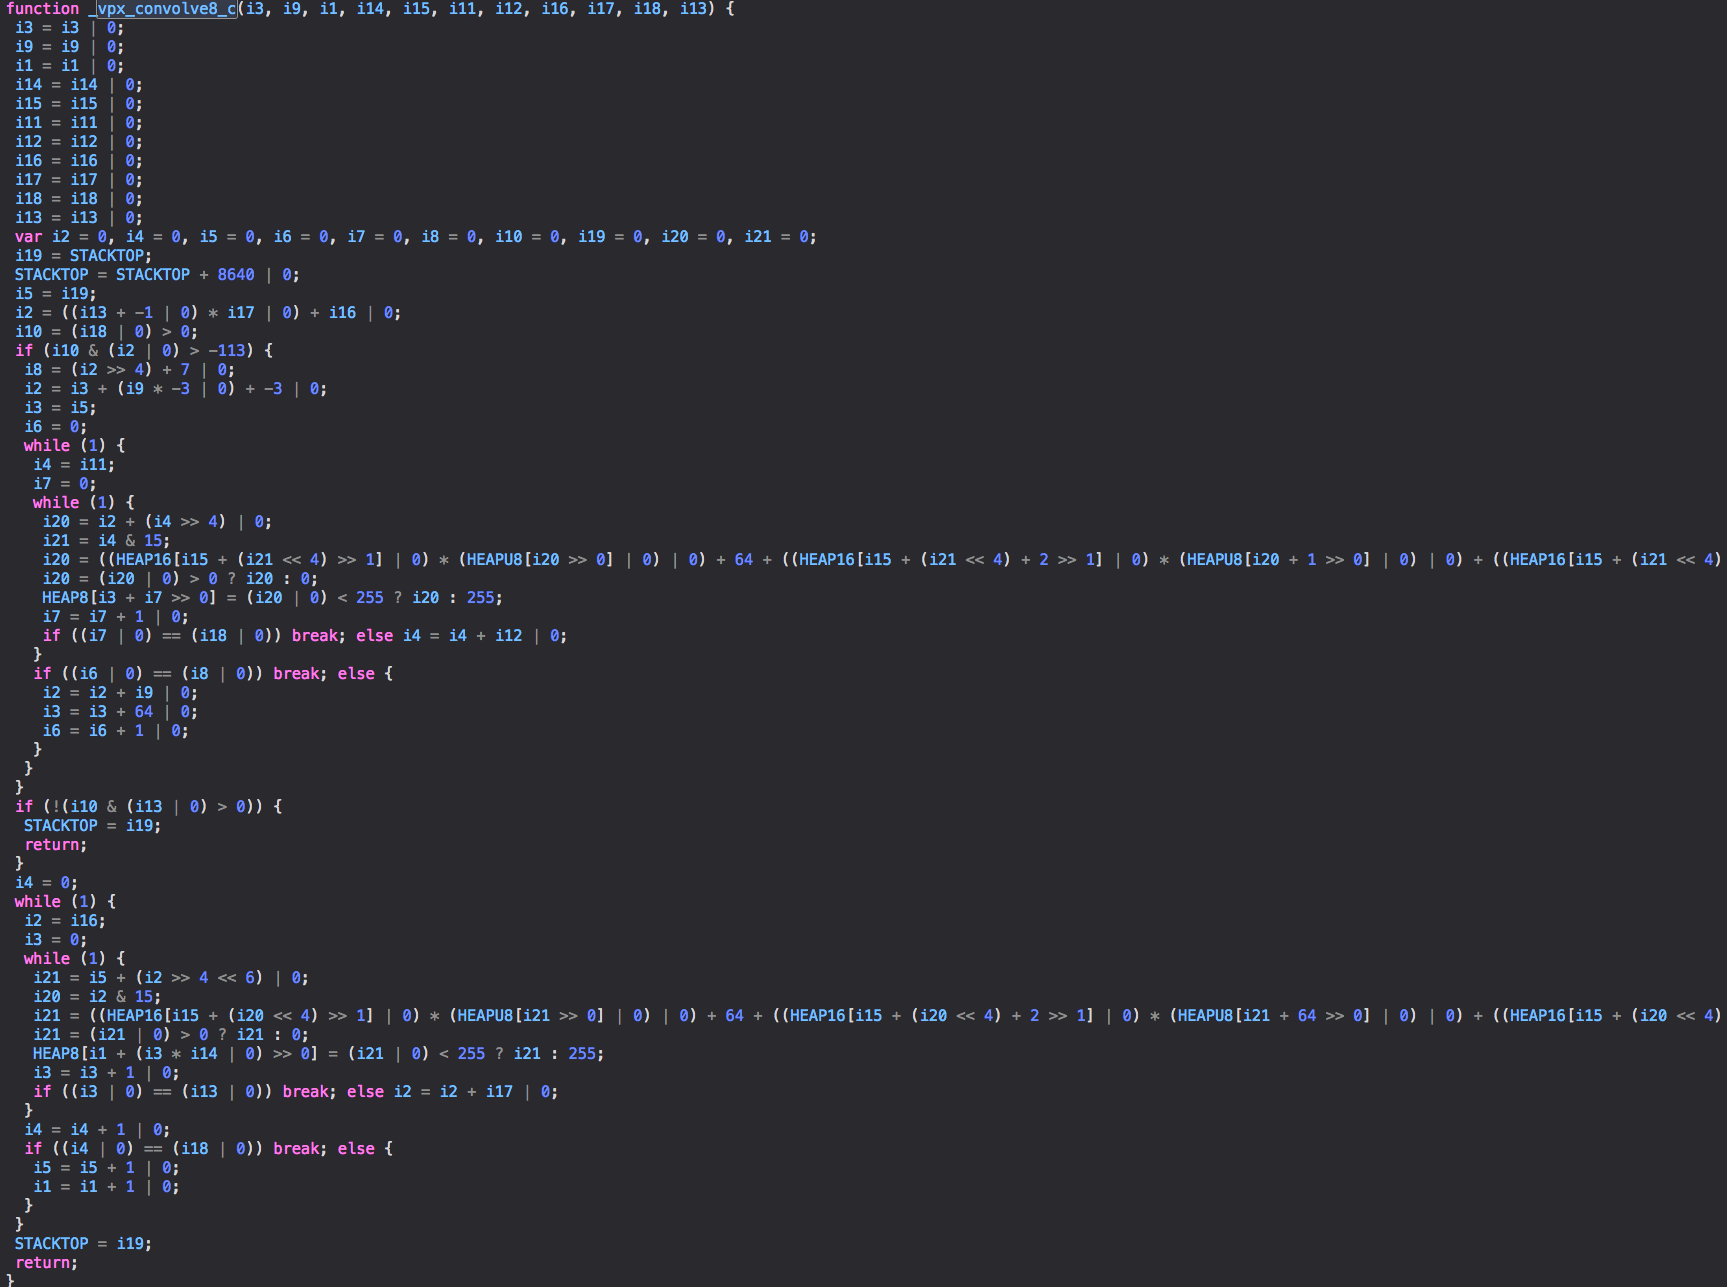
Coming up: getting Rust-y with mtpng

I’ve also made great strides on the actual encoding parallelization. More to come!

Parallelizing PNG compression, part 3: what’s in a PNG anyway?

While I’m waiting to figure out how to build and test my patch to GNOME Shell to speed up screenshotting, let’s look at the other problem — speeding up the compression of large PNG images on multicore systems.

What’s in a PNG anyway?

The PNG image format is composed of a series of “tagged chunks”, sections of a file with a type tag, a length, and a data payload. The only one that we care about here is the IDAT chunk, which contains the compressed image data.

From the perspective of the compressor, there are a few operations that need to be done, in a pipeline:

  1. Pack input pixels into the correct format.
  2. Optionally apply one of 5 filters which can improve the compressibility of the bytes.
  3. Send the filter ID and the bytes into the ‘deflate’ compressor.
  4. Write compressed bytes to output as one or more IDAT chunks.

There’s no particular benefit to using multiple IDAT chunks unless you’re aggressively streaming output (in which case it adds a few bytes for each chunk boundary).

libpng’s pixel format transformations are surprisingly expensive in the profiling run I did (>10% of samples!) and this step can probably be improved in its own right. I haven’t yet looked into that.

Filters are applied byte-wise on the packed pixel data, and are described in detail in the PNG spec. They require the previous line as input (or a 0’d out line for the first line!). Five different filter modes are defined, and encoders are recommended to use heuristics to guess which mode will compress best (say, by trying them all). Haven’t yet dived into the libpng source for the algo used, but profiling shows the filter application step totaling about the same CPU time as the deflate compression step (~27% of CPU samples)

The filter mode byte and the filtered data are then pumped into the deflate compressor, implemented by the standard zlib library.

So what’s in a deflate?

Now we’re at the fun part. That filtering stuff sounded really easy to parallelize by breaking up the input into line-wise chunks, but what about the compression?

A compressed deflate stream consists of a 2-byte header followed by a series of blocks, either uncompressed or compressed. Uncompressed blocks have a count of bytes to copy (with a maximum size), and compressed blocks are composed of Huffman-coded symbol lists. Oh and for fun, compressed blocks do not have to be aligned on byte boundaries. They’re actually bit streams! And they have no maximum size… Block boundaries depend on the input data and how well the compression identifies redundancy. Then at the end there’s a checksum of input data.

The easiest way to get parallelism is to divide up the input data (the filtered pixels) into chunks of some size that’s large enough not to affect compression much but not so large that you don’t have enough chunks to fill the CPU cores. Run each set separately, and stitch the resulting output back together fixing up the headers and checksums.

By “easy” I meant “slightly tricky”, but not totally impossible. :)

A few tricks to this:

  • To ensure each chunk’s output ends on a byte boundary, use Z_SYNC_FLUSH (or Z_FINISH on the last chunk) option to deflate. This will if necessary add a 0-byte uncompressed block to output, which resyncs to a byte boundary.
  • Blocks can refer to prior input data in a “sliding window” of up to 32KiB to gain a little extra compression across blocks. This can be handled by using deflateSetDictionary to pass the previous 32KiB of input as the dictionary. (But be warned, that changes the header bytes you have to skip over!)
  • The adler32 checksums of each chunk’s input can be re-combined using adler32_combine, or could be calculated separately from the deflate call.

All this stuff is done by the excellent standalone tool pigz but it’s not available as a library (yet!).

Parallelizing that PNG

The one example of someone attempting to do this specifically in PNG that I’ve found is png-parallel, an experiment which seems to have been abandoned some time ago. I made a fork and fixed it up to build on Fedora 28 and more or less work, and it looks promising so far.

The actual code is a bit hacky, and uses OpenMP for threading which is probably a dependency nightmare, but with a few tweaks I got it building, and producing valid PNG files, and scaling pretty well up to 8 threads or beyond!

There are two limitations which prevent me from showing any benchmarks yet:

  • the null filter is used instead of running the adaptive filter heuristics, so it both runs faster than it should and compresses less well than it should
  • it uses high bit depth if ImageMagick is configured for 16-bit channel depth by default, whereas most files processed will be 8 bits deep. Takes longer and compresses worse than it should.

The really hacky part is that it reaches into libpng internals. :) That may or may not be necessary with current APIs, so I’ll do some more poking at it later to see if I can make it work cleaner.

Next steps

I think it’d be useful to have a library that ties into libpng and does just the IDAT chunk, compressing it up parallel-style. It’d use standard ol’ pthreads so you’d have to link that too.

Have to read up a bit more on libpng to see how easy it is to plug in custom image writing “correctly” or if I should “just” redo the entire library. ;) In which case I might do it in rust. :P

Stay tuned for our next post, dear readers, about building and patching GNOME Shell!

Parallelizing PNG compression, part 2: bilingual GNOME Shell

In the first part of our adventure, I regaled you with the tale of slow screenshots on a Linux GNOME desktop with the extremes of a slow-but-multicore CPU and a very high resolution display.

The problem was twofold:

  1. GNOME Shell’s screenshot tool didn’t show audiovisual feedback until after the 7680×2160 image was saved as a PNG file, which was surprisingly slow.
  2. Saving PNG files is single-threaded, wasting 7/8 of available CPU power.

With a solution at hand for each:

  1. Split the screenshot into two asynchronous operations: capture and compression. Show audiovisual feedback after capture and run the effects in parallel with the compression.
  2. Parallelize the filter and compression steps of PNG image writing across multiple threads.

Simply moving the audiovisual feedback earlier in the screenshot operation in GNOME Shell will eliminate the “feel” of the delay, solving most of my specific problem! But PNG writing can totally be parallelized too, and we’ll get to that in later blog posts. :)

GNOME Shell: How Does It Work?

GNOME Shell is a strange beast that takes a central role in the 3.x generation of the GNOME Desktop experience. It serves as a desktop compositor / window manager, a sort of intermediary for drawing all your windows, and it runs the interactive title bars, system menus, taskbar/sidebar, application selector, etc. It’s written in a combination of C using glib’s GObject system and JavaScript. And it can have plugins and stuff.

But the part we care about is its screenshot service, which is what’s triggered when we hit PrintScreen!

This is divided into two parts: a C component which uses the low-level libraries to read a portion of the screen and save it to a PNG, and a JavaScript component which exports a D-bus service wrapping a call to the C component and adding the “camera flash” effect for audiovisual feedback to the user.

Break it down

The C ScreenshotService object’s various methods (for full screen, window, area…) schedule an actual screen capture for the next paint event in the compositor, and then return control to JS, using a GTask to manage the asynchronous return callback.

On the paint event, the pixbuf is captured on the main thread (maybe 0.1s on this case), then a task thread is started to do PNG compression and writing to a file. Main thread continues on, keeping the slow PNG stuff (1.25s in this extreme!) from blocking the UI!

When the file is written out, the task calls back to the main thread and into the JavaScript callback, where it asks the service for the final filename and starts the audiovisual feedback.

Build it back up

For fun, I’ve started on a provisional patch which separates the single capture+compress operation into two separate operations. Now, the JS first calls the appropriate screenshot method to do capture.

When the callback comes back, we’ve got a capture but nothing has been compressed or written to disk — the perfect time to start modifying the screen by starting a visual flash effect! If the capture succeeded, it’s also the time to call a new method to compress & write the previously-captured image to disk.

This seems relatively straightforward to do by untangling and re-tangling some code. Everything’s already wrapped in an asynchronous GTask, and it’s mostly separating out and duplicating and de-duplicating a couple bits.

Patch is in progress, but I haven’t built or tested it yet because I’m still figuring out how to test a custom version of the latest development GNOME Shell on a desktop running a current release OS. :)

And that adventure, dear readers, will be the subject of our next post!

Parallelizing PNG compression, part 1

I’ve noticed that on my Linux workstation (an older CPU with a current graphics card and dual 4K monitors) taking screenshots by pressing “PrintScreen” in the GNOME desktop seems really slow: specifically, there is a long delay of a second or more between tapping the key and the start of the audiovisual “camera flash” feedback.

Profiling with the “perf” tool and checking the actual source for gnome-shell confirmed three things:

  1. gnome-shell doesn’t start the camera flash effect until after the screenshot is saved to disk as a PNG file, meaning the delay is mostly up to the PNG image compression.
  2. PNG compression is slow, and single-threaded! It takes about 1.25s to save a 7680×2160 desktop screenshot PNG on this machine; 0.75s on my faster laptop. A top of the line modern workstation can probably hit 0.5s, but that’s still a longish delay for feedback of a keyboard event.
  3. The two biggest contributors to CPU time are filtering the output pixels before compression (part of libpng), and the actual “deflate” compression (part of zlib).

I’ve divided the problem up into two areas to work on, one of which looks easy and one of which looks tractable but is a little more work to do right:

  1. Patch gnome-shell to split the screenshot provider into separate “capture” and “write” steps, then start the camera flash effect after capture to run in parallel with the compression. On most machines the screenshot will already be compressed before the visual effect finishes, making it seem instantaneous! On corner cases like mine, it’ll still feel fast, but the PNG may not be available until after the flash finishes.
  2. Create a library to write PNGs using multithreading [for the actual filter/compression stages] (either as a helper for libpng, or standalone), and figure out how to get it used in various places. (My screenshot case would be gdk-pixbuf.)

The patch for gnome-shell is mostly written but I haven’t yet figured out how to build and test the latest gnome-shell on Fedora 28. :) Will poke at that in a bit.

For parallelizing the actual compression, I found a number of tools to do multithreaded gzip/deflate wrapping around regular zlib, and one old half-finished experiment at specifically doing so for PNG saving. Learn more about them in our upcoming blog post part 2! (ooh! exciting!)

VP9 decoder hotspots in asm.js: multiplication

When using ogv.js in the old IE 11 browser to play VP9 video, one of the biggest CPU hotspots is the vpx_convolve8_c function, which applies pixel filtering in a target area.

The C looks like:

All the heavy lifting being in those two functions convolve_horiz and convolve_vert:

It looks a little oversimple with tight loops and function calls, but everything is inlined aggressively by the compiler and the inner loop unrolled. The asm.js looks something like:

(Note some long lines are cut off in the unrolled loop.)

This seems fairly optimal, but know that those multiplications are slow — they’ll be floating-point multiplication because the semantics of JavaScript’s floating-point multiply operator don’t lend themselves well to automatic consolidation into integer multiplication. And it’s already an optimization that it’s doing _that_!

Normally emscripten actually doesn’t emit a multiply operator for an integer multiplication like this — it instead emits a call to Math.imul which implements 32-bit integer multiplication correctly and, when implemented, quickly. But in IE 11 there’s no native Math.imul instruction because it’s older than that addition to the JavaScript standard…

The emscripten compiler can provide an emulated replacement for Math.imul when using the LEGACY_VM_SUPPORT option, but it’s very slow — a function call, two multiplications, some bit-shifts, and addition.

Since I know (hope?) the multiplications inside libvpx never overflow, I run a post-processing pass on the JavaScript that replaces the very slow Math.imul calls with only moderately slow floating-point multiplications. This made a significant difference to total speed, something like 10-15%, when I added it to our VP8 and VP9 decoding.

Unfortunately optimizing it further looks tricky without SIMD optimizations. The native builds of these libraries make aggressive use of SIMD (single-instruction-multiple-data) to apply these filtering steps to several pixels at once, and it makes a huge improvement to throughput.

There has been experimentation for some time in SIMD support for asm.js, which seems to be being dropped now in favor of moving it directly into WebAssembly. If/when this eventually arrives in Safari it’ll be a big improvement there — but IE 11 will never update, being frozen in time.

Revisiting AVSampleBufferDisplayLayer on iOS 11

When I tried using iOS’s AVSampleBufferDisplayLayer in OGVKit last year, I had a few problems. Most notably a rendering bug on one device, and inability to display frames with 4:4:4 subsampling (higher chroma quality).

Since the rendering path I used instead is OpenGL-based, and OpenGL is being deprecated in iOS 12… figured it might be worth another look rather than converting the shader and rendering code to Metal.

The rendering bug that was striking at 360p on some devices was fixed by Apple in iOS 11 (thanks all!), so that’s a nice improvement!

Fiddling around with the available pixel formats, I found that while 4:4:4 YCbCr still doesn’t work, 4:4:4:4 AYCbCr does work in iOS 11 and iOS 12 beta!

First I swapped out the pixel format without adjusting my data format conversions, which produced a naturally corrupt image:

Then I switched up my SIMD-accelerated sample format conversion to combine the three planes of data and a fourth fixed alpha value, but messed it up and got this:

Turned out to be that I’d only filled out 4 items of a 16×8 vector literal. Durrrr. :) Fixed that and it’s now preeeeetty:

(The sample video is a conversion of a silly GIF, with lots of colored text and sharp edges that degrade visibly at 4:2:0 and 4:2:2 subsampling. I believe the name of the original file was “yo-im-hacking-furiously-dude.gif”)

A remaining downside is that on my old 32-bit devices stuck on iOS 9 and iOS 10, the 4:2:2 and 4:4:4 samples don’t play. So either I need to keep the OpenGL code path for them, or just document it won’t work, or maybe do a runtime check and downsample to 4:2:0.

Mobile video encoding tradeoffs

I spent a little time yesterday and today poking at an old project to encode video into the WebM format we use at Wikipedia on your iPhone or iPad so you could, potentially, take video and upload it directly.

The default encoding settings were mmmuuuucccchhhh tttoooooo ssslllooowww to be practical, so I had to tune it to use a faster configuration. But to maintain quality, you have to bump up the bitrate (and thus file size) significantly.

This same tradeoff is made in the hardware video encoders in the device, too! When you’re making a regular camera recording the bitrate is actually several times higher than it would be on a typical download/stream of the same video from YouTube/Netflix/etc. You just don’t have the luxury of the extra encoding time on a modest mobile chip, especially not if you’re recording live.

Video files and thumbnails in MediaWiki’s TimedMediaHandler

One of my ongoing tasks is modernizing and fixing up issues with TimedMediaHandler, the MediaWiki extension we use to handle audio and video files on Wikipedia and Wikimedia Commons.

One of many “little cuts” has been that the thumbnail frame of a video file defaults to the halfway point in the file, which is sometimes great and sometimes useless (such as a blank transition frame).  You can override the thumbnail to use for a given invocation in a wiki page, but can’t set a default to be used in places where no parameter is added… such as when a WebM or Ogg video got selected as the default poster image via the PageImages extension.

To resolve this, we’re reviving an old request to make it possible to set the default thumbnail frame time for a video.

I’ve got a patch partially working, using a parser function so you can put something like {{#thumbtime:90}} on the file page to set the default to 90 seconds in, or {{#thumbtime:35:17}} for 35 minutes and 17 seconds in, etc. The expanded time in seconds is saved as a page property on the File: page, then extracted and copied into the extended file metadata by a hook in TimedMediaHandler. The metadata gets queried when we the generate HTML harness for the video/thumbnail, and we pass the time down in the URL of the thumb just as we would if you had specifically requested that time.

Currently however it’s incompatible with CommonsMetadata extension, which we kind of need. ;) So I’ve got to figure that out and either get them to play nice, or store the data in a different way.

(Just using the page props locally isn’t enough because we have to export the data from Wikimedia Commons to other sites.)

emscripten fun: libffi on WebAssembly part 2

A couple weeks ago I started porting libffi to work on emscripten’s WebAssembly output mode, in the hopes of eventually getting glib or even gtk+ working in browser-compiled apps.

I got it back set up on my Linux box (moved from my Windows/WSL environment) and spent a little time this morning fixing a few more things.

First, 64-bit integers are now supported in call arguments and return values. This requires jumping through some hoops because JavaScript doesn’t yet have large ints, and so the C<->JS ABI divides them into two 32-bit words. For args, you get two args in a row, first the low then the high word. For return values, the low word is returned and the high word is set in a module-global variable which can be retrieved through Module.getTemp0().

Second, I fixed a bunch of float tests that failed because currently the test suite is being built and run in asm.js mode instead of Wasm. There’s a slight ABI difference again, in that in asm.js floats are always promoted to doubles in args  and return values. Checking Module.usingWasm and using the appropriate “f” or “d” in the signature resolves this.

Note the tests are in asm.js mode because the DejaGnu test runner seems to want to run the executables directly, so I tricked emcc into thinking it’s being run from emconfigure with EMCONFIGURE_JS=2 to force it to build a executable with a Node shebang instead of a native executable (whaaaaa) or bare JS that’s not executable… and currently emcc forces Wasm off in this mode, though I think it should not need to. Will look further into that.

Still have hundreds of failing tests as I haven’t implemented structs or closure generation, but it’s progress!

JavaScript engine internals part 5: conclusions

Thoughts from the last couple weeks of prototyping a JavaScript-like scripting language engine core

Scripting inside WebAssembly

A JavaScript-like garbage-collected dynamically-typed scripting engine runtime can indeed be implemented in WebAssembly, with relatively sensible performance for ahead-of-time compiled code. (C++/emscripten-based prototype showing within 3-4x of native JS in node for a floating-point math test without too much micro-optimization yet.)

  • Garbage collection keepalive requires explicit handling of a GC-scanable stack. There’s no way to scan the native stack, as not everything spills from locals to the emscripten-managed stack in linear memory.
  • Tricks like NaN boxing work for squishing variant values into a 64-bit word, and can perform reasonably well.
  • C++/emscripten prototype engine works well enough, but the build is large using standard library (for hashmaps, vectors, strings, and some string formatting at present).
  • It may be worth investigating a dynamic linking system where the engine and the compiled code are separate .wasm files, but this may have performance implications on calls into the engine.

Sandboxing

  • Memory usage can be strictly limited at compile or instantiation time, but moderate DoS vectors exist in long loops and deep recursion (can mitigate with Worker thread isolation)
  • Sandboxing the whole runtime so you can swap out just the .wasm file with a user-provided engine would be a lot more work (avoiding emscripten’s JS-side wrappers and functions or reducing them to a bare safe interface implemented for all engines).
  • Using separate .wasm modules for the engine and the program would expose engine internals in linear memory to the program’s module. Be aware that this is not a secure boundary unless the compiler is trusted.

Areas for further work

Adding an actual ahead-of-time compiler instead of hand-translating JS to C++ source would be a lot more work.

  • Would have to decide what tools to use to parse JS source
  • What kind of lifecycle and toolchain to use (does this get compiled server-side? client-side?)
  • What to emit (C++ as input to emscripten, or direct to LLVM, or super direct to WebAssembly?)

An in-engine interpreter for a REPL loop would be a different sort of work, and might or might not be able to share code with compiler for parsing etc.

How would compiled scripts be debugged, other than by slipping in console.log() invocations and watching error messages?

  • Is it possible to emit source maps for use in browser developer tools so can step through watching the original source instead of Wasm disassembly? How workable is this with Wasm at this point?

Need to imagine some example plugin APIs that could be used for scenarios such as:

  • SVG diagram with some event handlers and animations attached to it
  • SVG diagram or Canvas implementing Logo-like turtle graphics with simple input commands
  • Text editor plugin that describes a simple search-and-replace dialog and implementation

Immediate plans

I’ll probably keep tinkering with this because it’s fun as heck to research how other scripting engines work and see how I can make it myself. ;) But it’s a looooong way from being usable, and I wouldn’t likely be able to push it all the way there any time soon myself.

Will probably prototype the “other side” of the plugin scenarios above and see if I can get more folks at Wikimedia excited about sandboxed plugins and widgets with secure, narrow, versionable interfaces. I need to think of a clever name for it! ;)

In the meantime …. other tasks beckon! TimedMediaHandler needs its fixes finished…