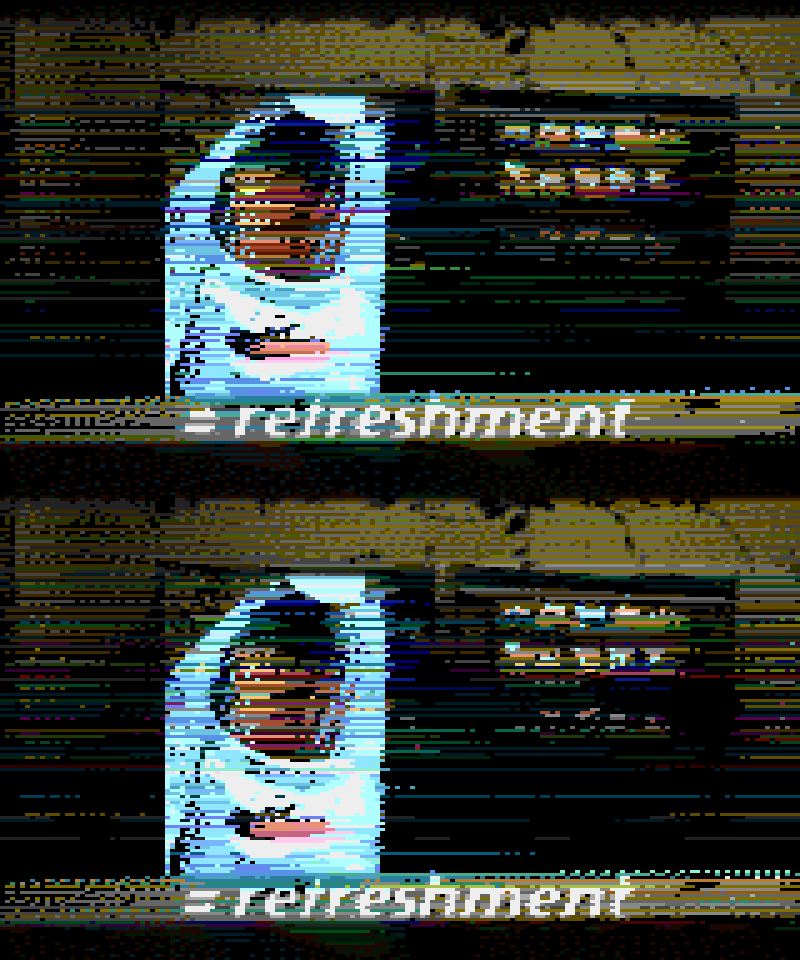
I recently picked up a vintage Atari 800 XL computer like one I had as a kid in the 1980s, and have been amusing myself learning more the low-level programming in that constrained environment.
The 8-bit Atari graphics are good for 1979 but pretty primitive; some sprite-like overlays (“player/missile graphics”) and a background that can either be character-mapped or a bitmap, trading off resolution for colors: 320×192 at 2 colors, 160×192 at 4 colors, or 80×192 at 9 colors (limited by the number of palette registers handy when they implemented the extended modes).
This not only means you have relatively few colors available for photorealistic images, but a 40 byte * 192 line framebuffer is 7680 bytes, a large amount for a computer with a 64KB address space.
However you have a lot of flexibility too: any scanline can switch modes in the display list so you can mix high-res text or instruments with many-colored playfields, and you can change palette registers between scanlines if you get the timing right.
I wondered whether video would be possible — if you go for the high res mode, and *do* touch every pixel, how long would it take to process a frame? Well, I did the numbers and it’s a *terrible* frame rate. BUT — if you had uncompressed frames ready to go in RAM or ROM, you can easily cycle between frames at 60 Hz, letting the display processor see each fresh frame.
With enough bank-switched ROM to back it, you could stream 60 Hz video at 480 KiB per second. A huge amount of data for its day, but now you could put a processed GIF animation onto a cartridge. ;)
So I’ve got a few things I want to explore on this fun project:
- dithering to 4 colors, with per-scanline palettes (working as of December 2022)
- can you also embed audio? 4-bit PCM at 15.8 or 7.9 KHz (working at 7.9; 15.8 may require a tweak)
- try adding a temporal component to the error-diffusion dithering
- add a couple lines of text mode for subtitles/captions
Dithering and palette selection
I’ve got a dither implementation hacked together in JS which reads in an image, sizes it, and then walks through the scanlines doing an error-propagation dither combined with a palette reduction.
To start with, the complete Atari palette is 7 bits (3 bits luminance, 4 bits hue, where 0 is grayscale and 1-15 are various points around the NTSC QI hue wheel). I took an RGB list of the colors from the net and, after gamma adjustment to linear space, perform an error-diffusion dither that looks for the closest color from the available palette then divides up the difference from the original color among neighboring pixels. At the end of the scanline, we count how many colors were used, including black which cannot be changed. If the remaining colors are > 3, they’re ranked based on usage and closeness and the least scoring color is removed. This is continued until the dither selects only colors that fit.
Formatting and playback
Due to a quirk of the Atari’s display processor, a frame buffer can’t cross a 4096-byte boundary, so with a 40-byte screen width you have to divide it into two non-contiguous sections. Selecting a widescreen aspect ratio (also to leave room for captions later) means there’s room enough to fit in arrays for the palettes as well (3 bytes per scanline) an to fit audio (131 or 262 bytes depending on sample rate).
Note that for extra fun, the hardware register that gives you the current scanline number gives you the count *divided by two*. This is because the whole signal has 262 scanlines per frame, which is bigger than 256 and doesn’t fit in a byte! :D
So it makes sense to handle these by waiting until we’re synced up on line 0 and then doing an explicit timing loop with horizontal blanking waits (STA WSYNC). This way we know if we’re on the 0 or the 1 subline, and can use the VCOUNT register (0..130) as an index into arrays of palette or audio entries.
For testing without simulating bank-switching, I’m squishing two frames into RAM and switching between the two by making a complex display list: basically just the same thing twice, but pointing at different frame buffers and looping back around.
It seems to work pretty nice! But the timing is tight and I have to disable interrupts.
Audio
The Atari doesn’t have DMA-based PCM audio where you just slap in some bytes and it plays the audio… you either use the square-wave generators, or you manually set the volume level of the voices for each sample *at the right time*.
Using the scan line frequency is handy since we’re already in there changing palette entries during horizontal blanking. Every freq is about 15.8 KHz, every other line is 7.9 KHz, slightly worse than telephone frequency.
It seems to work at 7.9 at least, and I might be able to do 15.8 with ROM backing (bank-switching every frame makes things easier vs a long buffer in RAM). Note that you only get 4 bits of precision, and unpacking two samples from one byte is annoyingly expensive. ;)
Next steps
The next thing I’ll try is a tweak to the dither algorithm to try to drive a more direct dither pattern between temporally adjacent frames; at least on an LCD, the 60 Hz flip looks great and it should “blend” even better on a classic CRT with longer phosphor retention times.
Then I’ll see if I can make a 1 MiB bank-switched cartridge image from the assembler that I can load in the emulator (and eventually flash onto a cartridge I can get for the physical device) so I can try running some longer animations/videos.
No rush though; I gotta get the flashable cartridge. ;)